Continuing with our VR group project, lessons 3 and 4 consisted of self-directed group work. We were left to our own devices to make the most of the available time and work on our individual assets. The first thing that I wanted to do was get organised and create a tracking method so that the whole group is always clear on where each person is with their tasks, therefore where we are as a whole. I felt that a spreadsheet would be best for this so I created one within Google, noting down everyone’s names and the delegated assets we had agreed to. I added a colour key to see progress at a glance and Jacob also included a notes section where we could add extra detail about a particular asset.
Part of our progress tracker
After that, I got to work on the assets that I had chosen to create: the castle door and the old/creepy decor. I saved an image of what kind of door we were roughly looking for, for inspiration and also found a template that would help me build the door in Maya.
– Inspiration –
– Template –
For the modelling process, I won’t be going into a lot of detail, since I used existing skills and techniques that I have gone over previously in my blog. I will, however, be noting some of the key moments and difficulties that I had to overcome.
This is the, very basic, man model that Jacob created when he was making the shell of the room. It was sent to all of us to use as a scaling reference for our models and it is how I decided on the rough size of the door (Jacob can scale up or down slightly if he decides this is necessary).
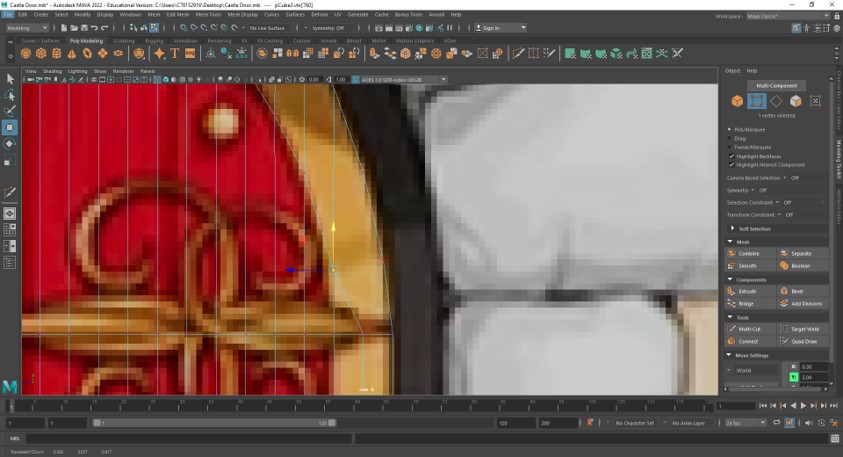
I created the curved top part of the door by moving the verts manually. However, I then had trouble adding an edge loop to follow the curve, since I needed a second layer for the golden rim. I tried multi-cut and extrusion and it was still inaccurate. In the end, I had to move verts by hand once again.
This corner gave me some trouble but I had to deal with the awkward geometry as there was no way to delete the vert and no space to add a new one.
The extrusion of the outer rim worked well and here I am trying to speed up the process by duplicating just those faces to make the black outer edge that sits between the door and the stone.
I realised that this shortcut wouldn’t work when I turned to the back of the door to find this mess. Not all of the faces were selected and it would take a long time to delete them as I had added more subdivisions at the start to make the curve smooth.
I decided to just use the bend non-linear deformed on a stretched-out cube. Even then, it wasn’t accurate and here I am trying to change the width in certain areas, making some very wonky edges.
In front view, once I moved the curve in front of the template it was much easier to make it accurate and the edge loops were straightened out to an extent.
My next task was the stones that framed the entire door. These were probably the easiest, quickest parts of the process since I simply reshaped a cube by moving the verts to match those of the rocks in the image. After that, it was just a matter of duplicating, rotating and positioning.
Jumping ahead, I have made a start on the details here. The little golden spheres were very simple (I just used the poly primitive sphere) and I quickly made my way to the handle.
Using soft select, I added a subtle indent to make the handle holder more interesting and fancy.
For the handle itself, I tried using the bend deformer on a cylinder but this didn’t work so I created the curve using the EP curve tool instead.
Extruding along the path
After selecting the curve and cylinder, I went to ‘Delete All By Type’, ‘History’ so that I could get rid of the curve. Then, I moved the pivot point to the centre so I could rotate correctly, duplicated and positioned everything in place.
I ended the lesson by adding a sphere to the bottom of my handle, connecting both curved pieces before combining them. I left the final detailing until the next session. You will have also noticed that I was working on only half of the door the entire time, which is because I plan to mirror it in order to have a perfectly symmetrical model. I looked back at my work with more satisfaction than I was expecting as things were progressing smoothly, albeit slowly.