Today, we will research and make a hard surface model of our choice. We will also plan the modelling and begin modelling it.
I will model Cloud’s trademark weapon: the Buster Sword from Final Fantasy 7 in Maya.

As the buster sword is quite a simple thing to model, I will model some other swords from video games to make up for it. I will also make Sephiroth’s weapon: the Masamune, also from Final Fantasy 7.

I will also make Sora’s Keyblade from the Kingdom Hearts series.

I will model the Master Sword from the Legend of Zelda series as well.

To finish it, I will model Kirby’s Ultra sword from the Kirby series.


Researching the swords
Buster Sword
The Buster Sword is classified as an enormous broadsword and is approximately five to six feet from tip to handle and has a single-edged large blade approximately one foot wide. It has two slots that can fit two Materia onto it. It is an inanimate object.
Masamune
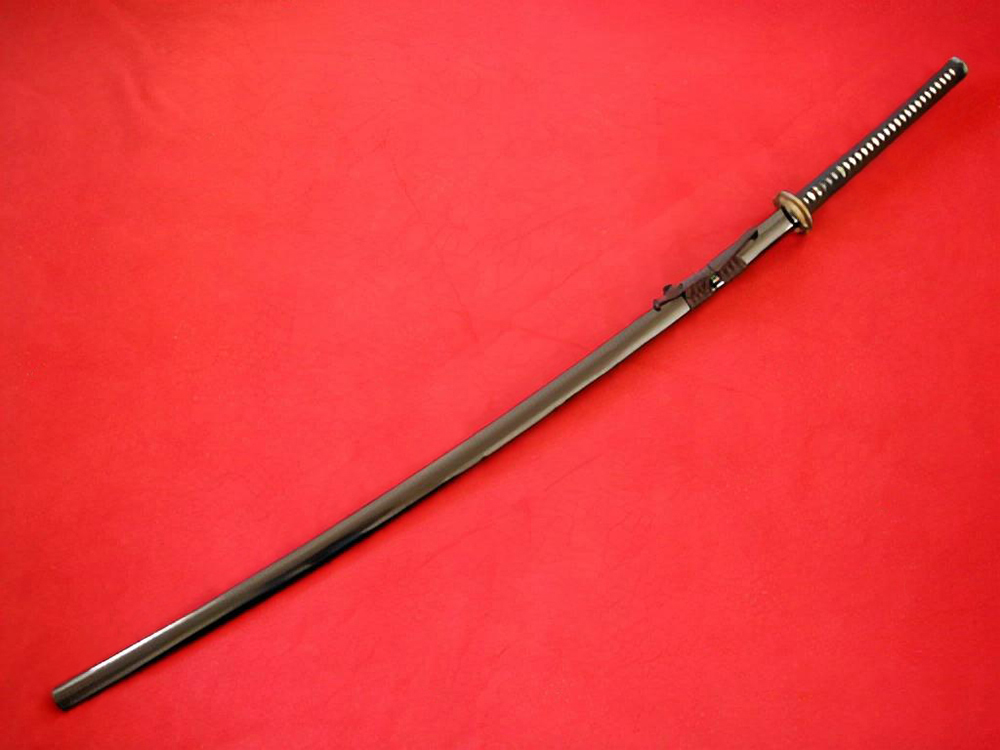
The Masamune is designed as a Japanese odachi blade. It is usually six to eight feet and is around Sephiroth’s height. The curve of the blade varies and is never entirely straight. It has a handle long enough to accommodate both hands. It has a rectangular tsuba, which is gold-coloured, mostly.
The Japanese odachi, on which the appearance of the Masamune is based, is a large two-handed Japanese long-sword carried by foot soldiers as a weapon against cavalry soldiers. They used them on open battlefields as the weapon’s length made their use indoors or close quarters difficult. During times of peace, the sword was worn slung across the back as a symbol of status, as it required more strength and skill to wield than a regular Katana.
Keyblade
Keyblades are mysterious weapons that are heavily featured in the Kingdom Hearts series. Wielded by the main character, Sora, as well as other main characters, the Keyblade is the main part of the battle between light and dark.
Master Sword
The Master Sword was initially crafted by the goddess Hylia as the Goddess Sword and was later forged into the Master Sword by the goddess’s chosen hero and its spirit, Fi, who bathed it in the three Sacred Flames located across the land that would become the Kingdom of Hyrule. Din’s Flame imbued the sword with the Power to Repel Evil, a power augmented after the Sword received the blessing of Zelda, which transformed the blade into the True Master Sword. It is usually the only sword that can defeat Ganon in most Zelda games.
Ultra Sword
The Ultra Sword appears in Kirby’s Return to Dream land and is an upgraded version of the standard sword. Unlike other super abilities in Kirby, the Ultra Sword is used to finish two bosses, which are the Grand Doomer and Magolor’s first phase. It is also used in the penultimate level of the game to defeat every mid-boss, annihilating each in just one hit. The Ultra Sword is used in Kirby’s final smash in the Super Smash Bros. series.
How I will plan and begin making the models
Buster Sword
I will use the model here: I will not animate it as it doesn’t move. Honestly, it depends on wherever it will be a hero asset or in the background as it could be something in the centre of the shot, or something in the background where, for example, placed on a wall.
I will make the model by using the cylinder primitive for the handle and the cube primitive for the rest of the model. I will make two circular holes in the blade for the Materia slots. I will use a metallic material for the blade. I will extrude the shapes and use the multi-cut tool for creating edge loops.
Masamune
I will use the model the same way as the first sword: I will not animate it as it doesn’t move. It depends on wherever it will be a hero asset or in the background as it could be something in the centre of the shot, or something in the background where, for example, placed on a wall.
I will make the model by making a cylinder for the handle, and a cube for the rest of it where one is used at the top of the handle and the other is used for the blade.
Keyblade
Same use as above.
I will make the model by using a cylinder for the handle and the front of the key. I will use cubes and cylinders for the handle and for the key by extruding. I will extrude cylinders to make the chain and use them again for the Mickey symbol.
Master Sword
Same use again.
I will make the model by using a cylinder for the handle and extruding it to make the rest of the handle. I will use cubes for the top of the handle and the blade by extruding them. I will create edge loops using the multi-cut tool.
Ultra Sword
Again, same use.
I will make the model by extruding a cylinder for the handle and a cube for the blade. I will use a sphere for the symbol on the sword.
Making the models
Buster Sword
I started with a basic block out using an image as a reference:

I started making the bottom of the handle by extruding the shape. I also modelled the top of the handle:

I separated the blade from the handle, so modelling would be easier. I used the multi-cut tool to cut the shape:

I cut the shape with the multi-cut tool and extruded a part out to make the materia slots:

I made the materia slots by cutting the extruded shape, making two holes in the middle, bridged it so that it is filled on the inside. I used this tool to add divisions so the holes are circular:


I added the bumps that are on the top of the handle by placing spheres in them:

I added edge loops to the handle to make the ripples that it has:

The finished model:

For the render, I created walls and assigned the lambert material to them and coloured them black. I created a floor plane and applied the lambert material and coloured it light brown. I positioned the sword at an angle so the tip was on the ground:

Finished render:

The render is a reference to the title screen of Final Fantasy VII:

Masamune
First, I made a simple block out where I made a cylinder, put a cube on top of it, and placed another one on top of that for the blade:

I made the vertices on the tip of the blade narrower so that it were sharper

for the top of the handle, I used the multi-cut tool to create edge loops, then I extruded the faces and made what you can see here:

For the bottom of the handle, I extruded the bottom by selecting the faces:

Finished model:

For the render, I put the sword in a black box by placing walls around it:

Finished render:

Due to time constraints, I wasn’t able to model the remaining three swords, as I don’t have Maya at home.
I feel like this has gone well, as modelling both swords has been easy. If I could improve, I could try modelling one thing instead that is more complicated to model and will take time to make as the things I made are easy to model and they can be done within a single session.